Tennis Photography: Where to Stand and Exactly When to Press
Tennis looks like an easy sport to photograph — two players, a defined court, predictable movement. It is not. The margins are in the geometry and in a shutter window about a fifth of a second long.
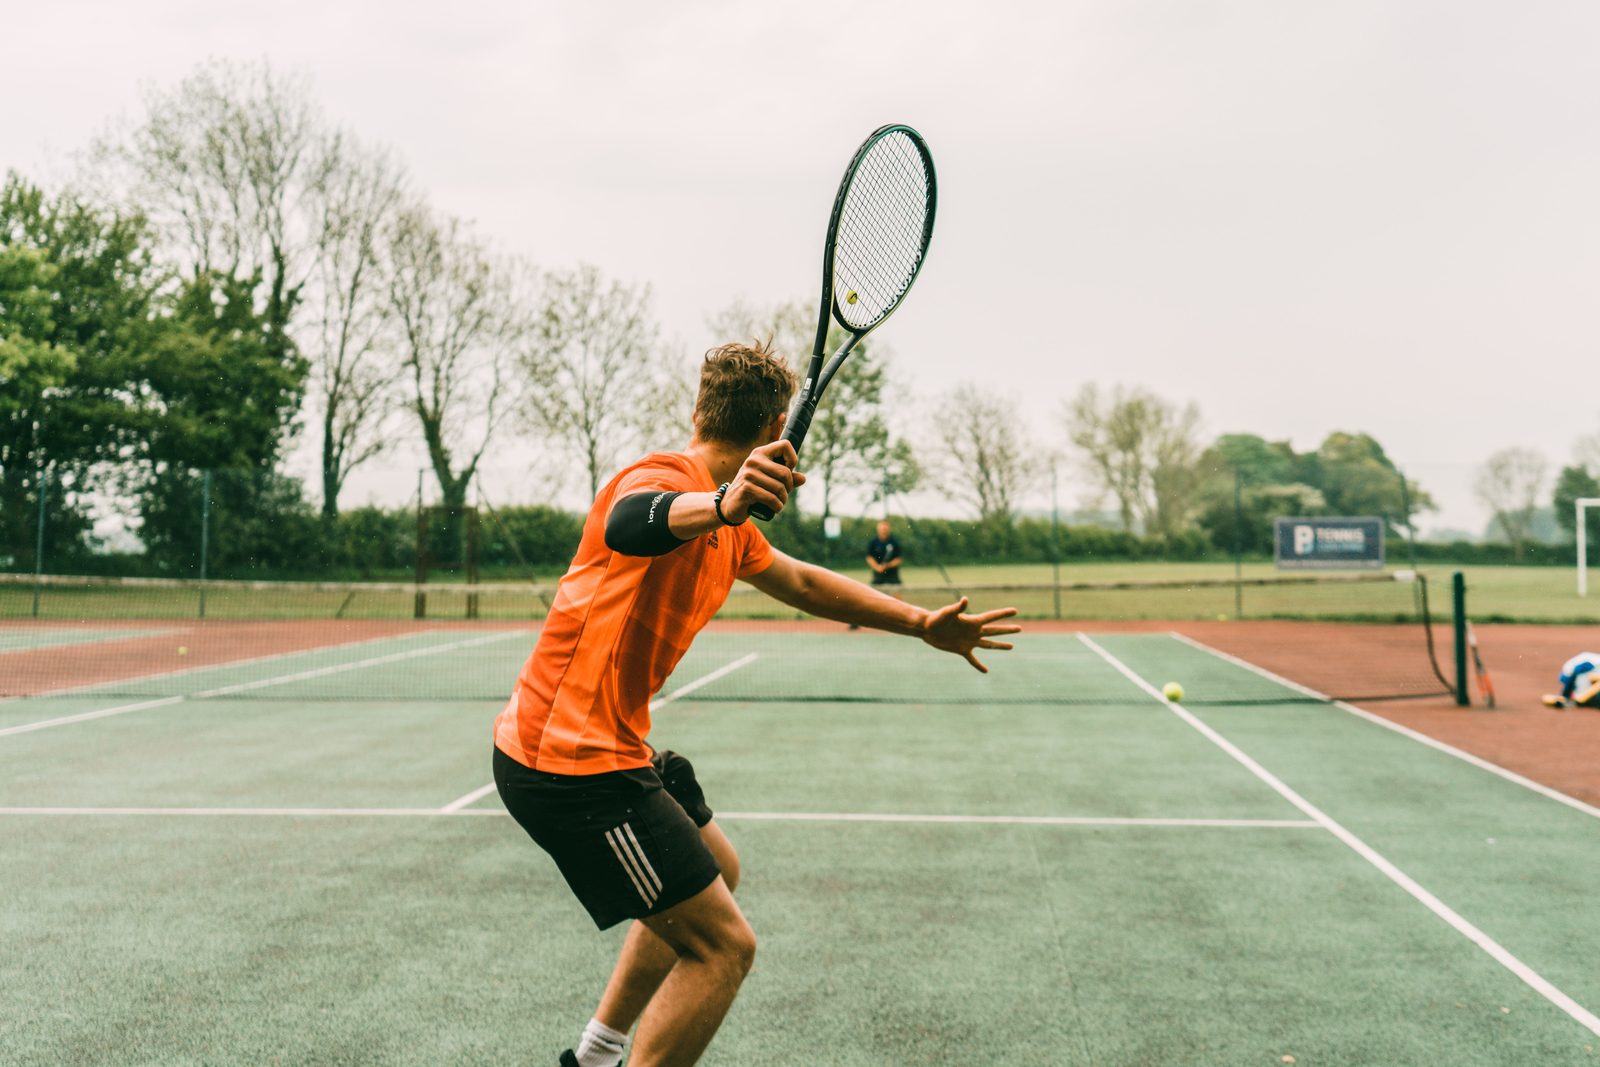
People assume tennis is the easy sport. The players stay inside a rectangle 23.77 metres long, there are only two or four of them, and there is a gap between every point in which you can breathe. All true, and none of it helps once you realise the picture you want exists for about 40 milliseconds and repeats maybe six times a set.
The deceptively difficult sport
Tennis compresses everything worth photographing into moments so brief they are effectively invisible in real time. A serve at club level reaches 150 km/h; the window in which the racket head, the ball and the player's face are all in a photogenic relationship lasts a fraction of a second. Miss it by two frames and you have a picture of someone standing still with their arm up.
What tennis gives you in return is repetition. Unlike football, the same moment happens again in ninety seconds. That changes the whole approach: you are not chasing a unique event, you are refining an attempt across an entire match until you get the version you want. This is closer to studio work than to matchday sport.
Do not try to photograph everything. Pick one shot type — say, the forehand at full extension from the far corner — and work on it for three games until you have it. Then move on to the next. You will finish the match with six excellent frames instead of two hundred mediocre ones.
Court geometry: five positions and what each gives you
Every tennis position is a trade between how much of the player's face you can see and how much of the court you can include. There are five that consistently work.
1. Behind the baseline, low, slightly off-centre
The classic. Shooting through or over the back fence with the near player as a soft foreground shape and the far player sharp. You get the face on serves and the full body on groundstrokes. It is also where the sun is usually least helpful, so this is a morning or evening position.
2. The corner, at 45 degrees to the baseline
My most productive position by some margin. You see the player's front, the racket does not eclipse the face, and the court lines running diagonally through the frame give you a composition rather than a snapshot. If I could only use one position for a whole tournament, it would be this.
3. Level with the net, side-on
Best for volleys, net rushes and doubles. Side-on to a player at the net gives you the extension of the reach and the ball. Poor for baseline rallies, where you get a lot of profile and very little face.
4. Elevated, behind the court
If the club has a balcony, a clubhouse window or even a stepladder you are allowed to use, take it. Elevation turns the court markings into graphic elements and lets you photograph the whole geometry of a rally — two players, the whole court, the ball. These are the frames tournaments use for programmes and posters.
5. Very tight, at the fence
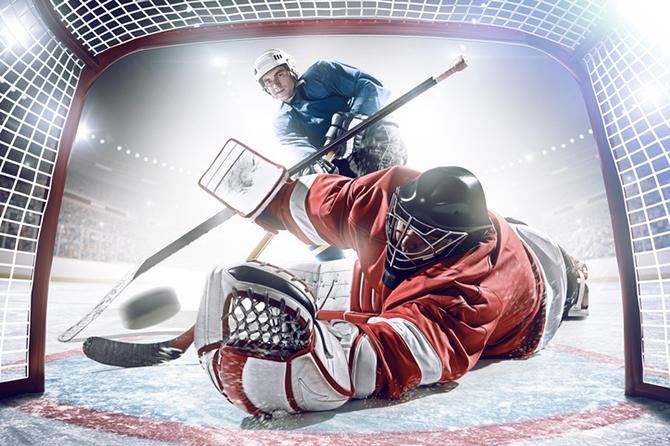
Lens right against the mesh at maximum aperture. The fence disappears entirely — the same trick as shooting through hockey glass. This gives you frames impossible from anywhere else, but you are locked to one small angle, so treat it as a specialist position for one or two games.
The four moments in every point
Learn to see these four and you will stop shooting randomly.
- The trophy pose. At the top of the service motion, the ball is at its apex, the tossing arm is extended and the racket is dropped behind the back. Everything is briefly still. It is the most reliably photogenic instant in tennis, and because it repeats every point, it is the easiest to nail.
- Contact on a groundstroke. Racket meets ball with the body fully rotated. Hardest of the four, because the window is tiny and the racket frequently hides the face. Shoot bursts and accept a low hit rate.
- The recovery stride. One or two frames after contact, when the player is pushing back to the centre, often with both feet off the ground. Underrated, and easier to catch than contact.
- The reaction. Fist pump, racket throw, hands on knees, a look at the coach's box. This is where the emotion lives and it is fully half of what a club actually wants.
Practically: I pre-focus on the far player's contact zone, fire a burst of four frames starting just before the racket comes forward, and stop. Fire too early and you have anticipation frames; too late and you have follow-through. Four frames spanning roughly a quarter of a second reliably contains the one you want.
Shutter speed: the racket lies to you
The single most common tennis photography error is a shutter speed that freezes the player perfectly and turns the racket head into a translucent smear. A racket head at contact moves substantially faster than the player's body, so a speed that looks fine on the torso is nowhere near enough for the strings.
| Shutter | Result | Use for |
|---|---|---|
| 1/500s | Body sharp, racket badly blurred, ball a streak | Reaction frames only |
| 1/1000s | Body sharp, racket softening, ball slightly elongated | Movement, recovery strides |
| 1/1600s | Racket readable, ball nearly round | Reliable general-purpose setting |
| 1/2000s | Strings visible, ball frozen | Contact frames in good light |
| 1/3200s | Everything frozen including the ball's seam | Serves in bright sun |
In daylight this costs nothing — 1/2000s at f/4 sits at around ISO 400 on a bright day. Under floodlights it is a genuine trade, and I would rather have a sharp face at 1/1250s than a perfect racket and a soft player. Judge it shot by shot.
Autofocus and the net problem
Tennis has one specific autofocus failure mode: the net. Track a player at the baseline, follow them forward, and as they cross the net line many systems grab the net cord instead — a high-contrast horizontal line lying exactly across the subject.
Three mitigations:
- Keep the focus zone above the net line when possible. Put the zone on the player's head and shoulders rather than the centre of their body.
- Set tracking sensitivity low. A sticky setting stays with the player through the net crossing.
- Use face and eye detection. Tennis faces are unobstructed, so subject detection works extremely well, and a system locked to a face will ignore the net entirely.
Shooting the far player through the near player's blurred shoulder is a nice compositional device, but it defeats most tracking systems. For those, prefocus manually on the far baseline and shoot at f/4 or narrower to give yourself some depth of field to hide in.
Court light, and why midday is the enemy
Most club tennis is played between 10am and 4pm, which is the worst light of the day. Overhead sun puts hard shadows in eye sockets, makes white kit blow out, and turns the court surface into a giant reflector that throws coloured light back up under everyone's chin. Green acrylic gives your subjects a faint green cast; red clay gives them a warm one that is easier to like.
What actually helps:
- Shoot with the sun at 45 degrees behind you rather than directly behind. Straight-on light is flat and shadowless; slightly angled light gives the face some modelling.
- Expose for the highlights. White kit in direct sun clips easily and cannot be recovered. Half a stop under, lifted in post, is far safer.
- Custom white balance off the court surface, not off the sky. The bounce is what is colouring your subjects.
- Use backlight deliberately. When the sun is low, shooting into it puts a rim of light around the player and turns sweat and dust into something worth photographing. Spot-meter the face and let the background blow.
- Take the early and late sessions. If you are covering a tournament and can influence the schedule, ask for the 8am and 5pm matches. The pictures will be twice as good for no extra skill.
Shooting for the surface
Surface changes both the look and the tactics, and it should change what you shoot.
Clay is the most photogenic surface in the sport. Dust kicks up on every slide, the warm orange separates beautifully from white kit and green surrounds, and the sliding movement gives you body positions that hard courts never produce. Shoot low and expose for the highlights on the dust.
Hard court is sharp, high-contrast and unforgiving. The bright surface fools meters into underexposing, so dial in positive compensation. Movement is more explosive and less graceful — favour the recovery stride and the changes of direction.
Grass is rare at club level in Britain but wonderful when you get it. Low, warm light, dark green backgrounds, and after a couple of days the worn service boxes give you texture. Watch for the very high contrast between sunlit grass and shaded surrounds.
Indoor is a lighting problem: typically 500–800 lux, often with flicker. Same rules as any indoor sport — fast glass, anti-flicker on, custom white balance, and accept ISO 6400.
Covering a club tournament without burning out
A county-level tournament can be four courts running simultaneously for nine hours across three days. You cannot shoot everything, and trying will produce a bad gallery and an injured back.
My structure:
- Before play: establishing frames — empty courts, the draw sheet, balls being opened, the scoreboard at zero. Fifteen minutes, and it gives the gallery a beginning.
- Group stages: rotate every two games. Aim for two or three usable frames per player, not per match. Prioritise players you have not yet photographed over better matches.
- Between matches: this is where the tournament actually lives — players stretching, coaches talking, a junior asleep on a kit bag, someone restringing a racket. Shoot it.
- Finals: settle in one position and stay. Full coverage of one match beats fragments of four.
- Presentation: get in position early, expose before it starts, and get the trophy, the handshake and the faces. This is the frame that goes in the clubhouse.
Take twice the water you think you need, wear a hat, and carry a folding stool. Nine hours crouching behind a fence in July has ended more tournament coverage than any technical failure I have seen.
Thomas Brown is a sports and documentary photographer based in Newport, Shropshire, with an MA in Photojournalism & Documentary Photography from the University of the Arts London. Get in touch about a fixture, a tournament or a commission.